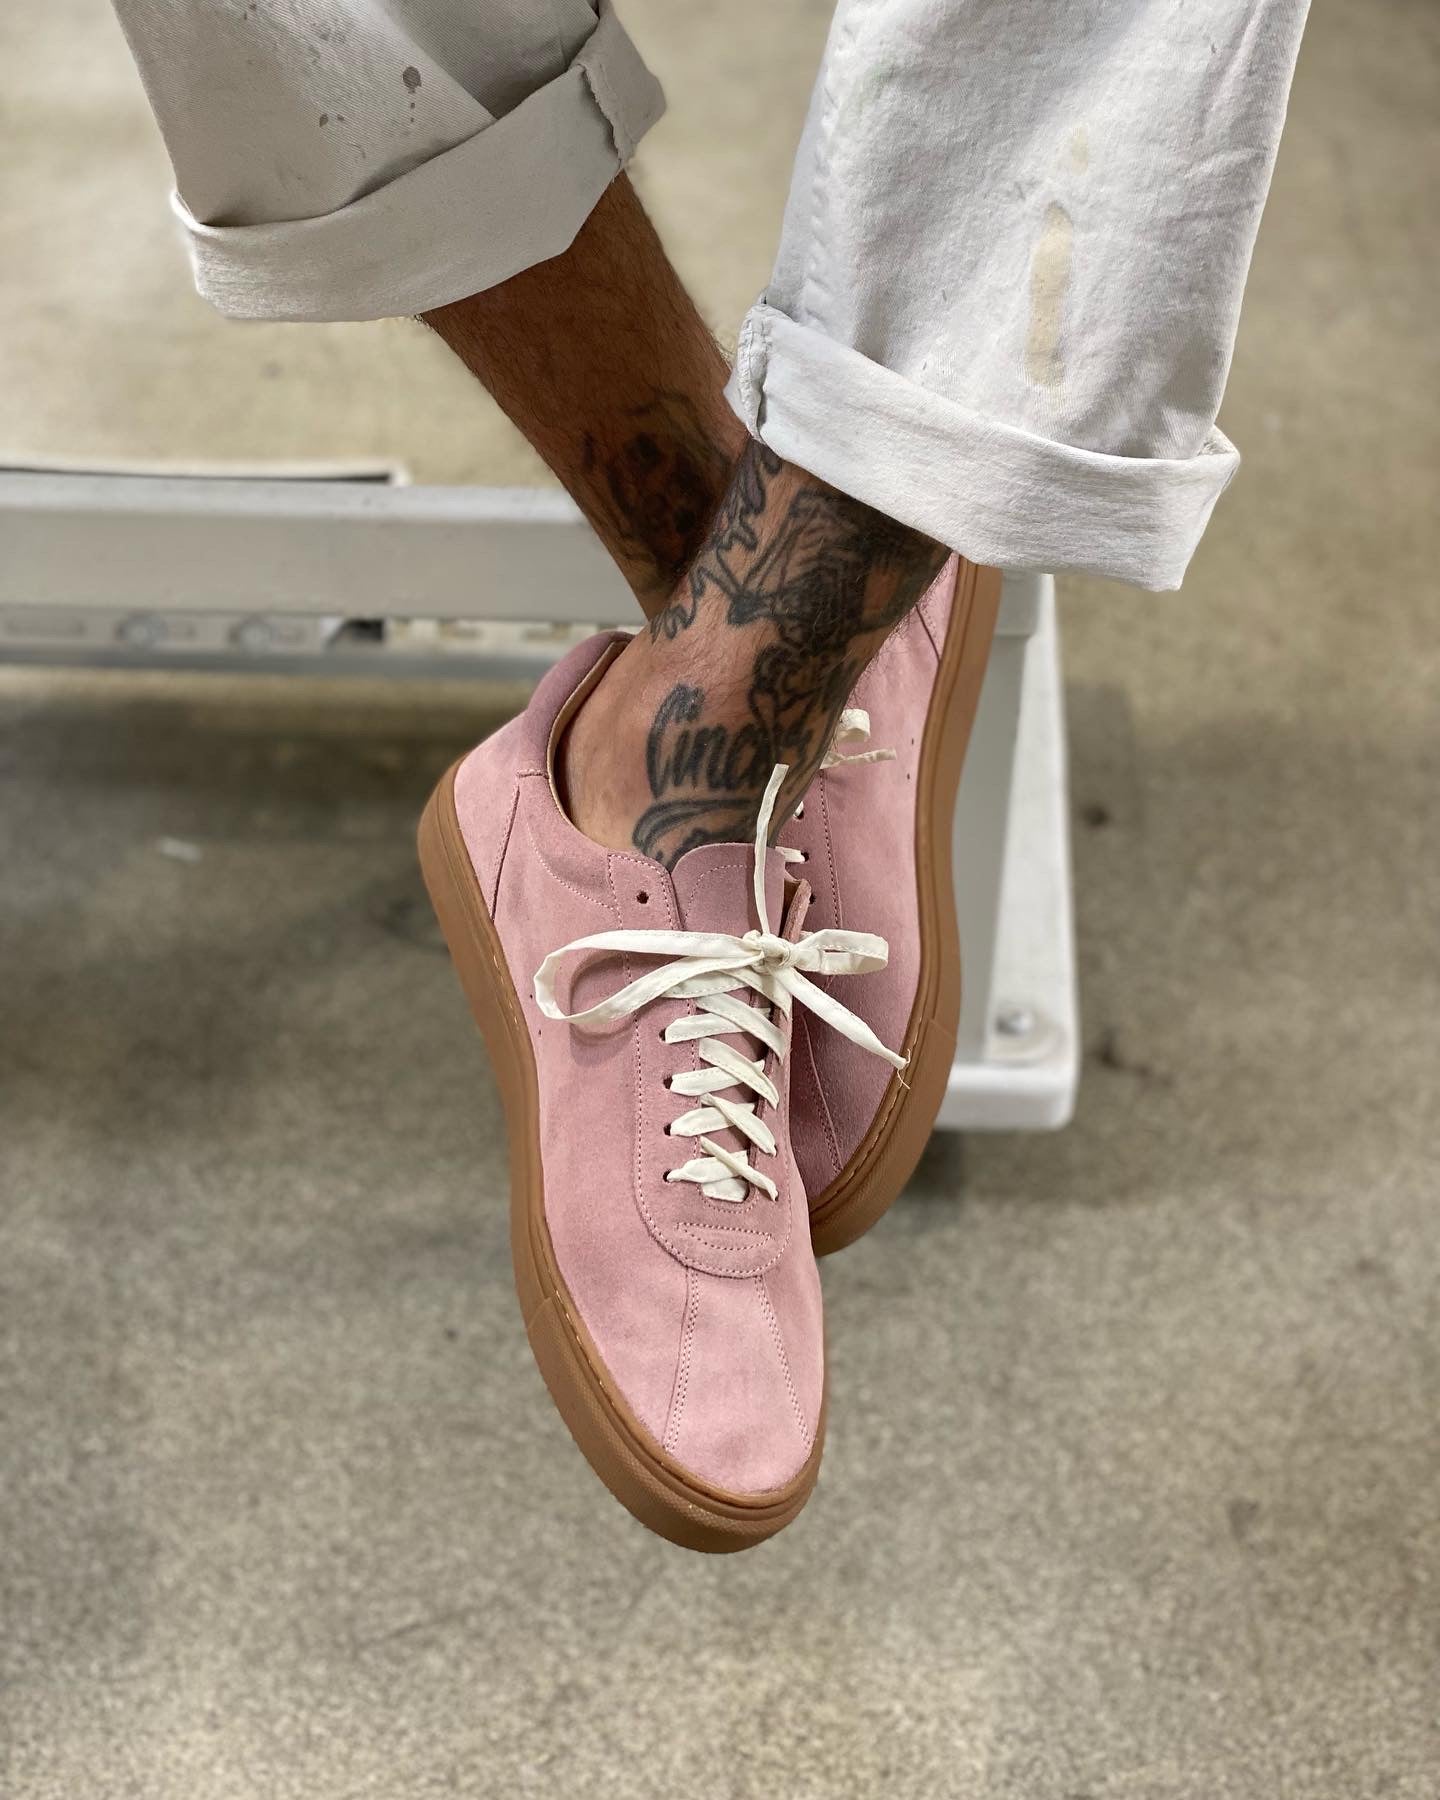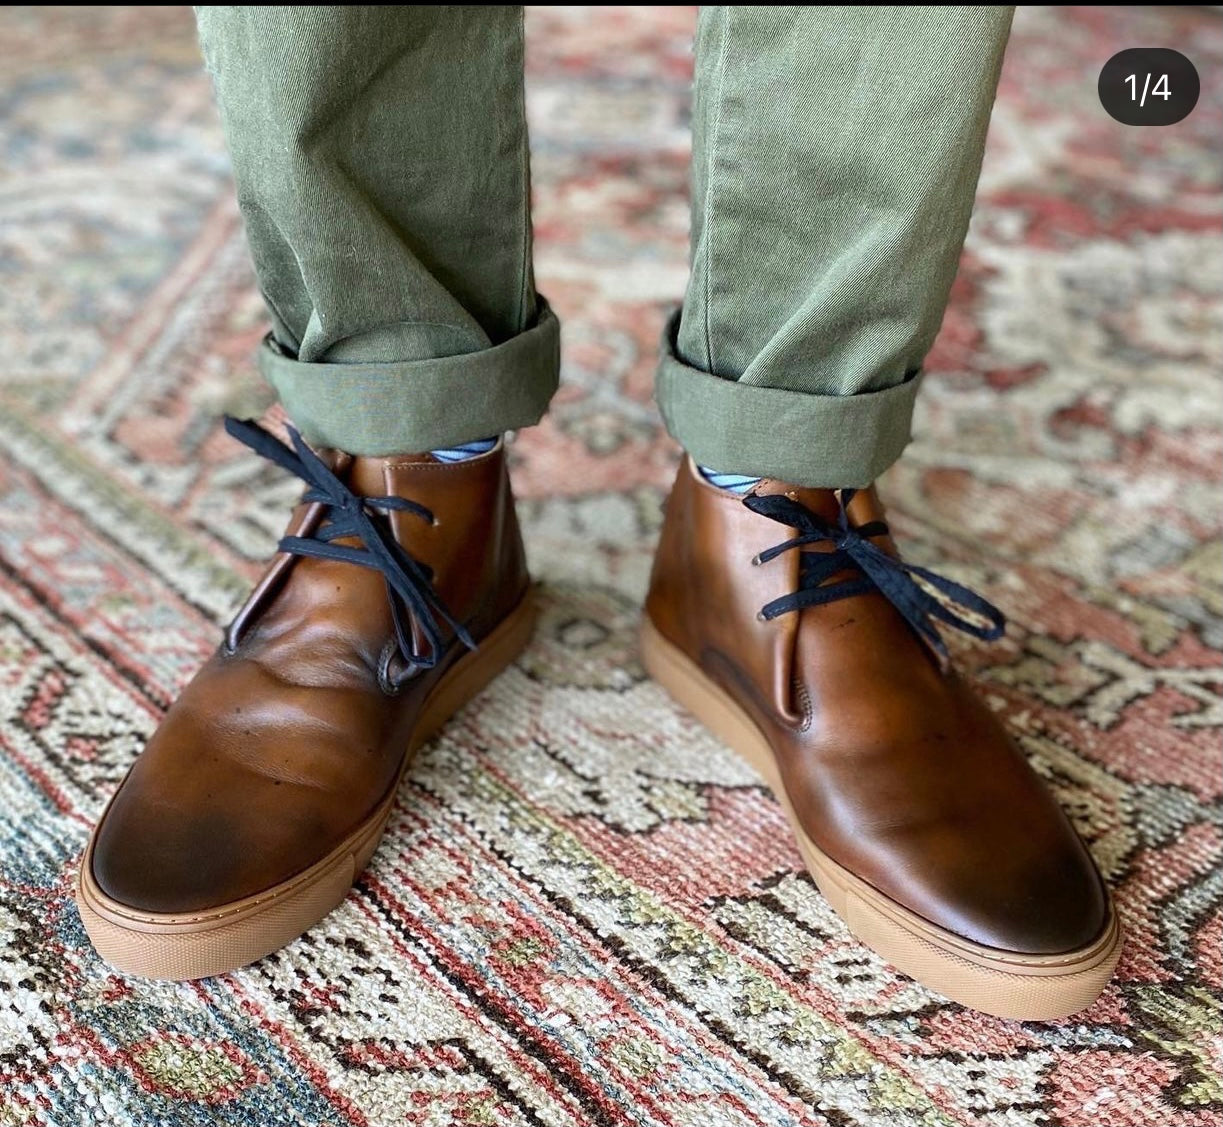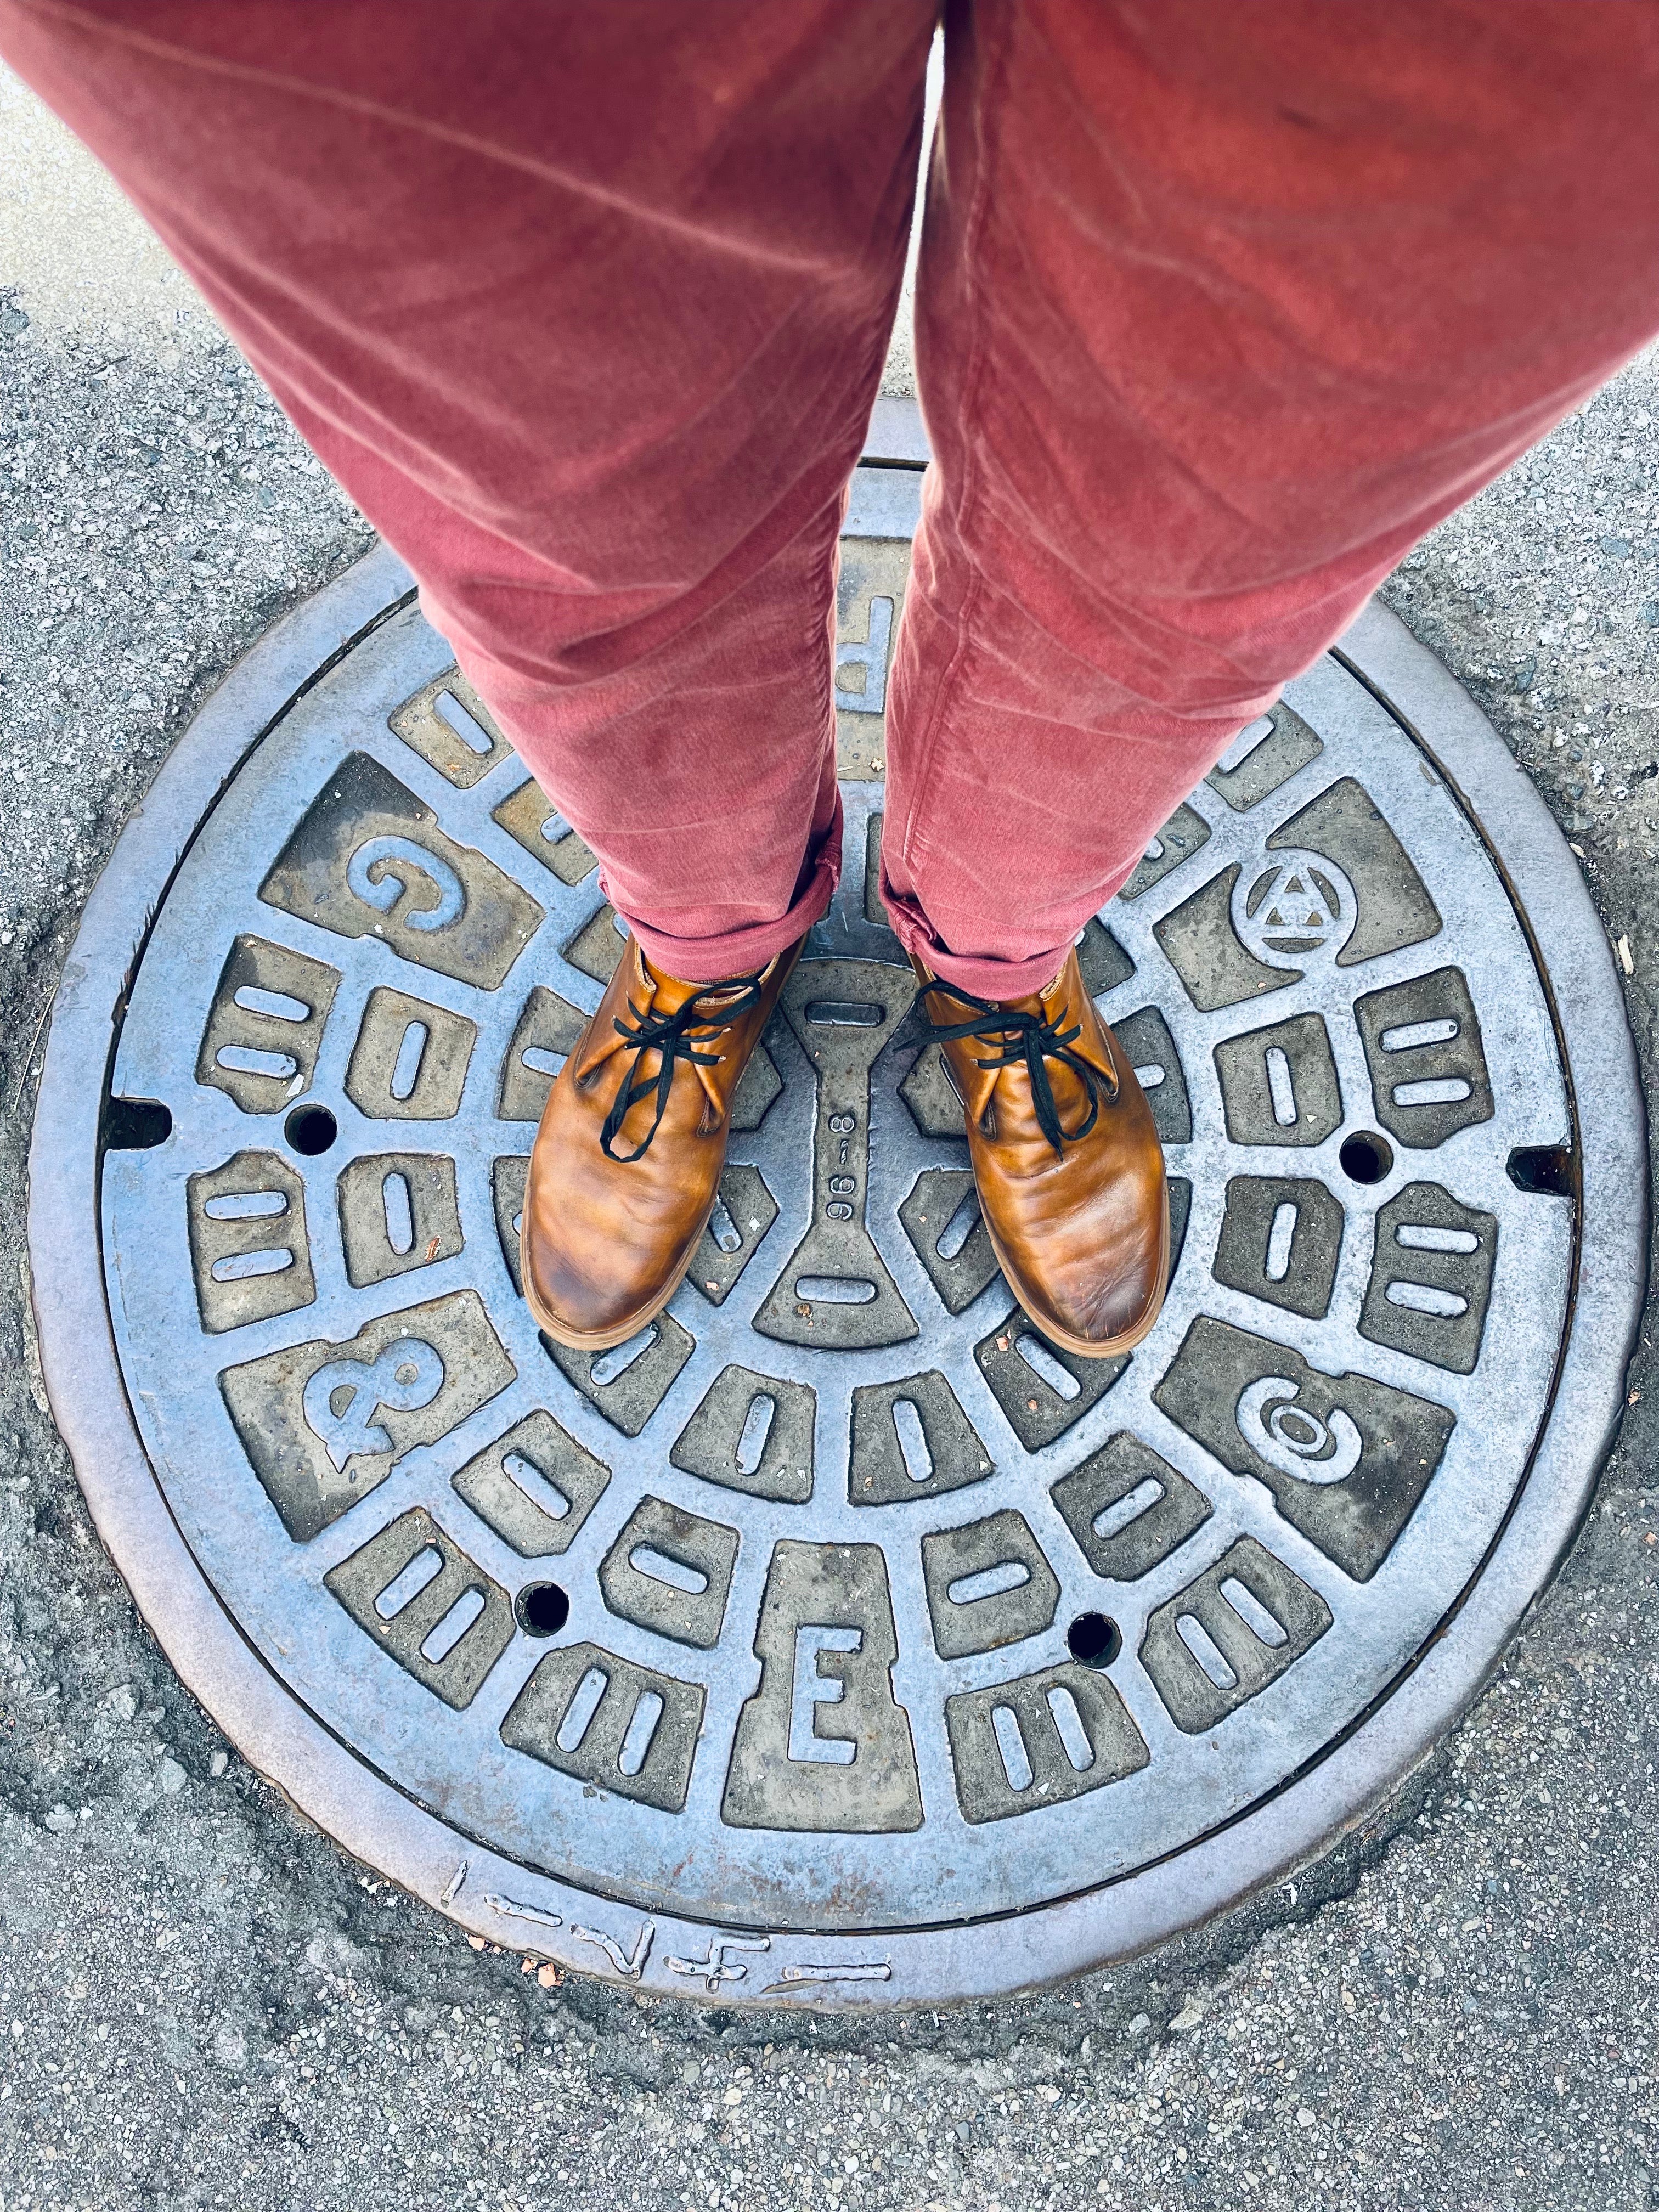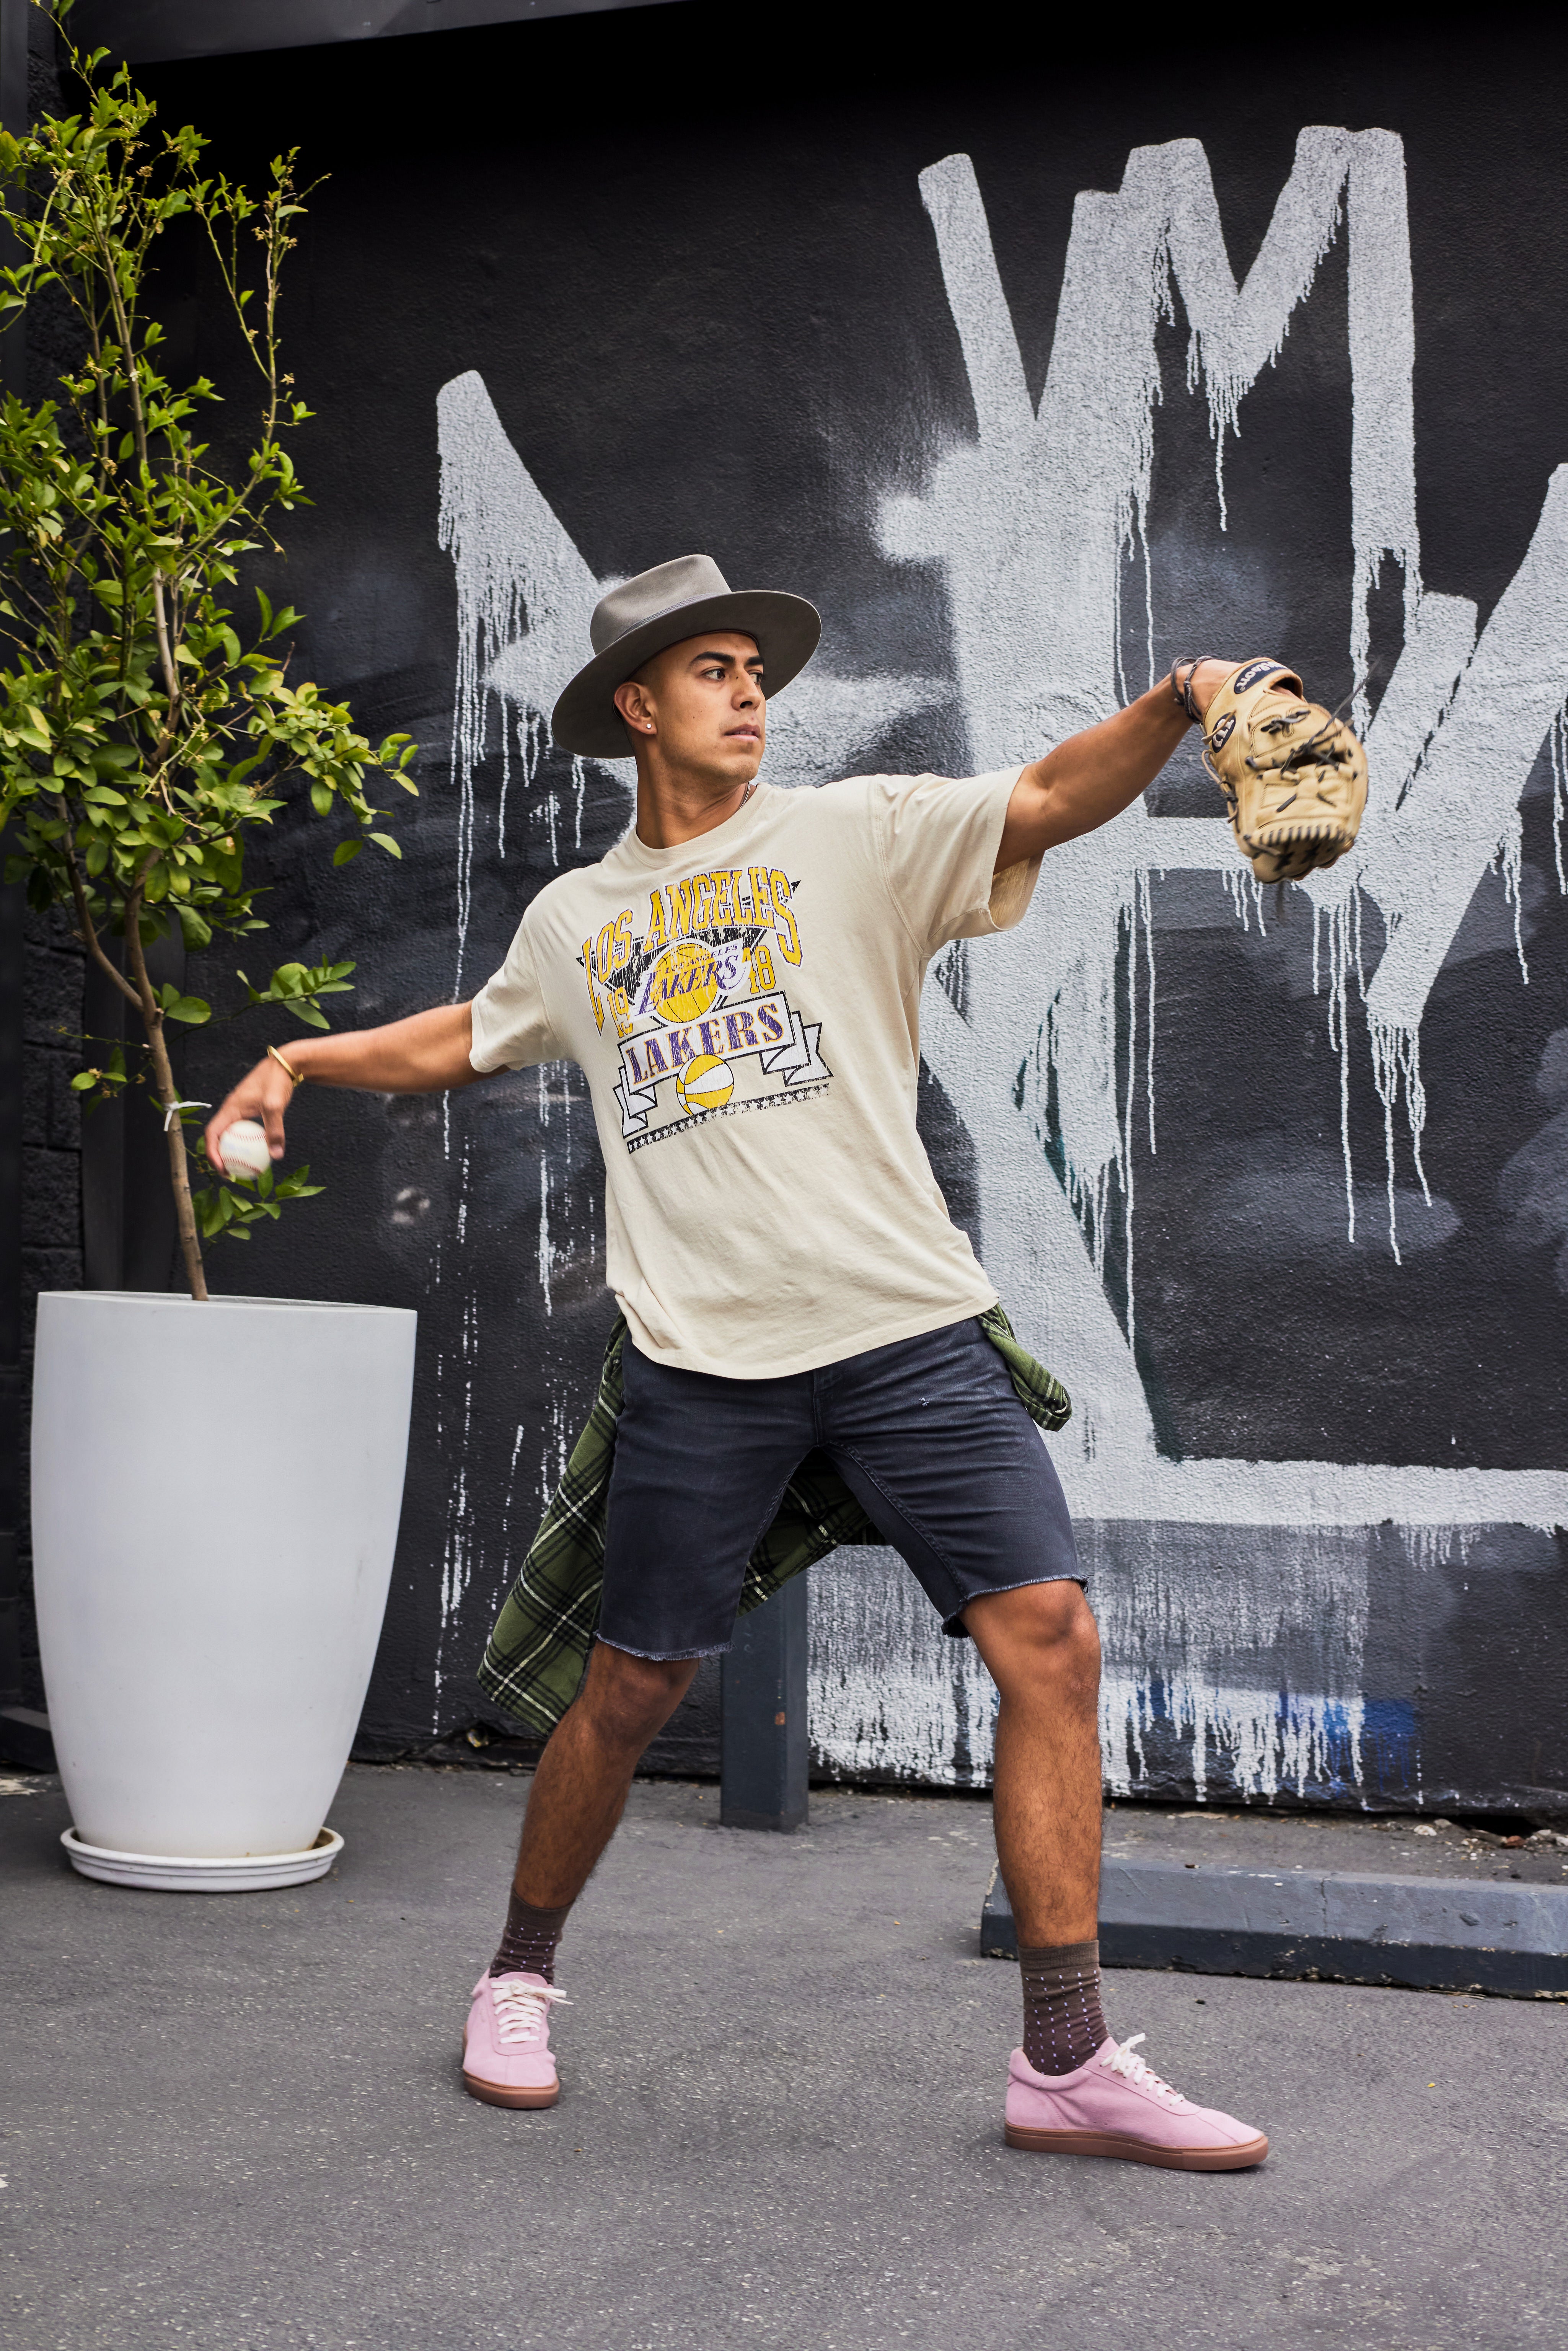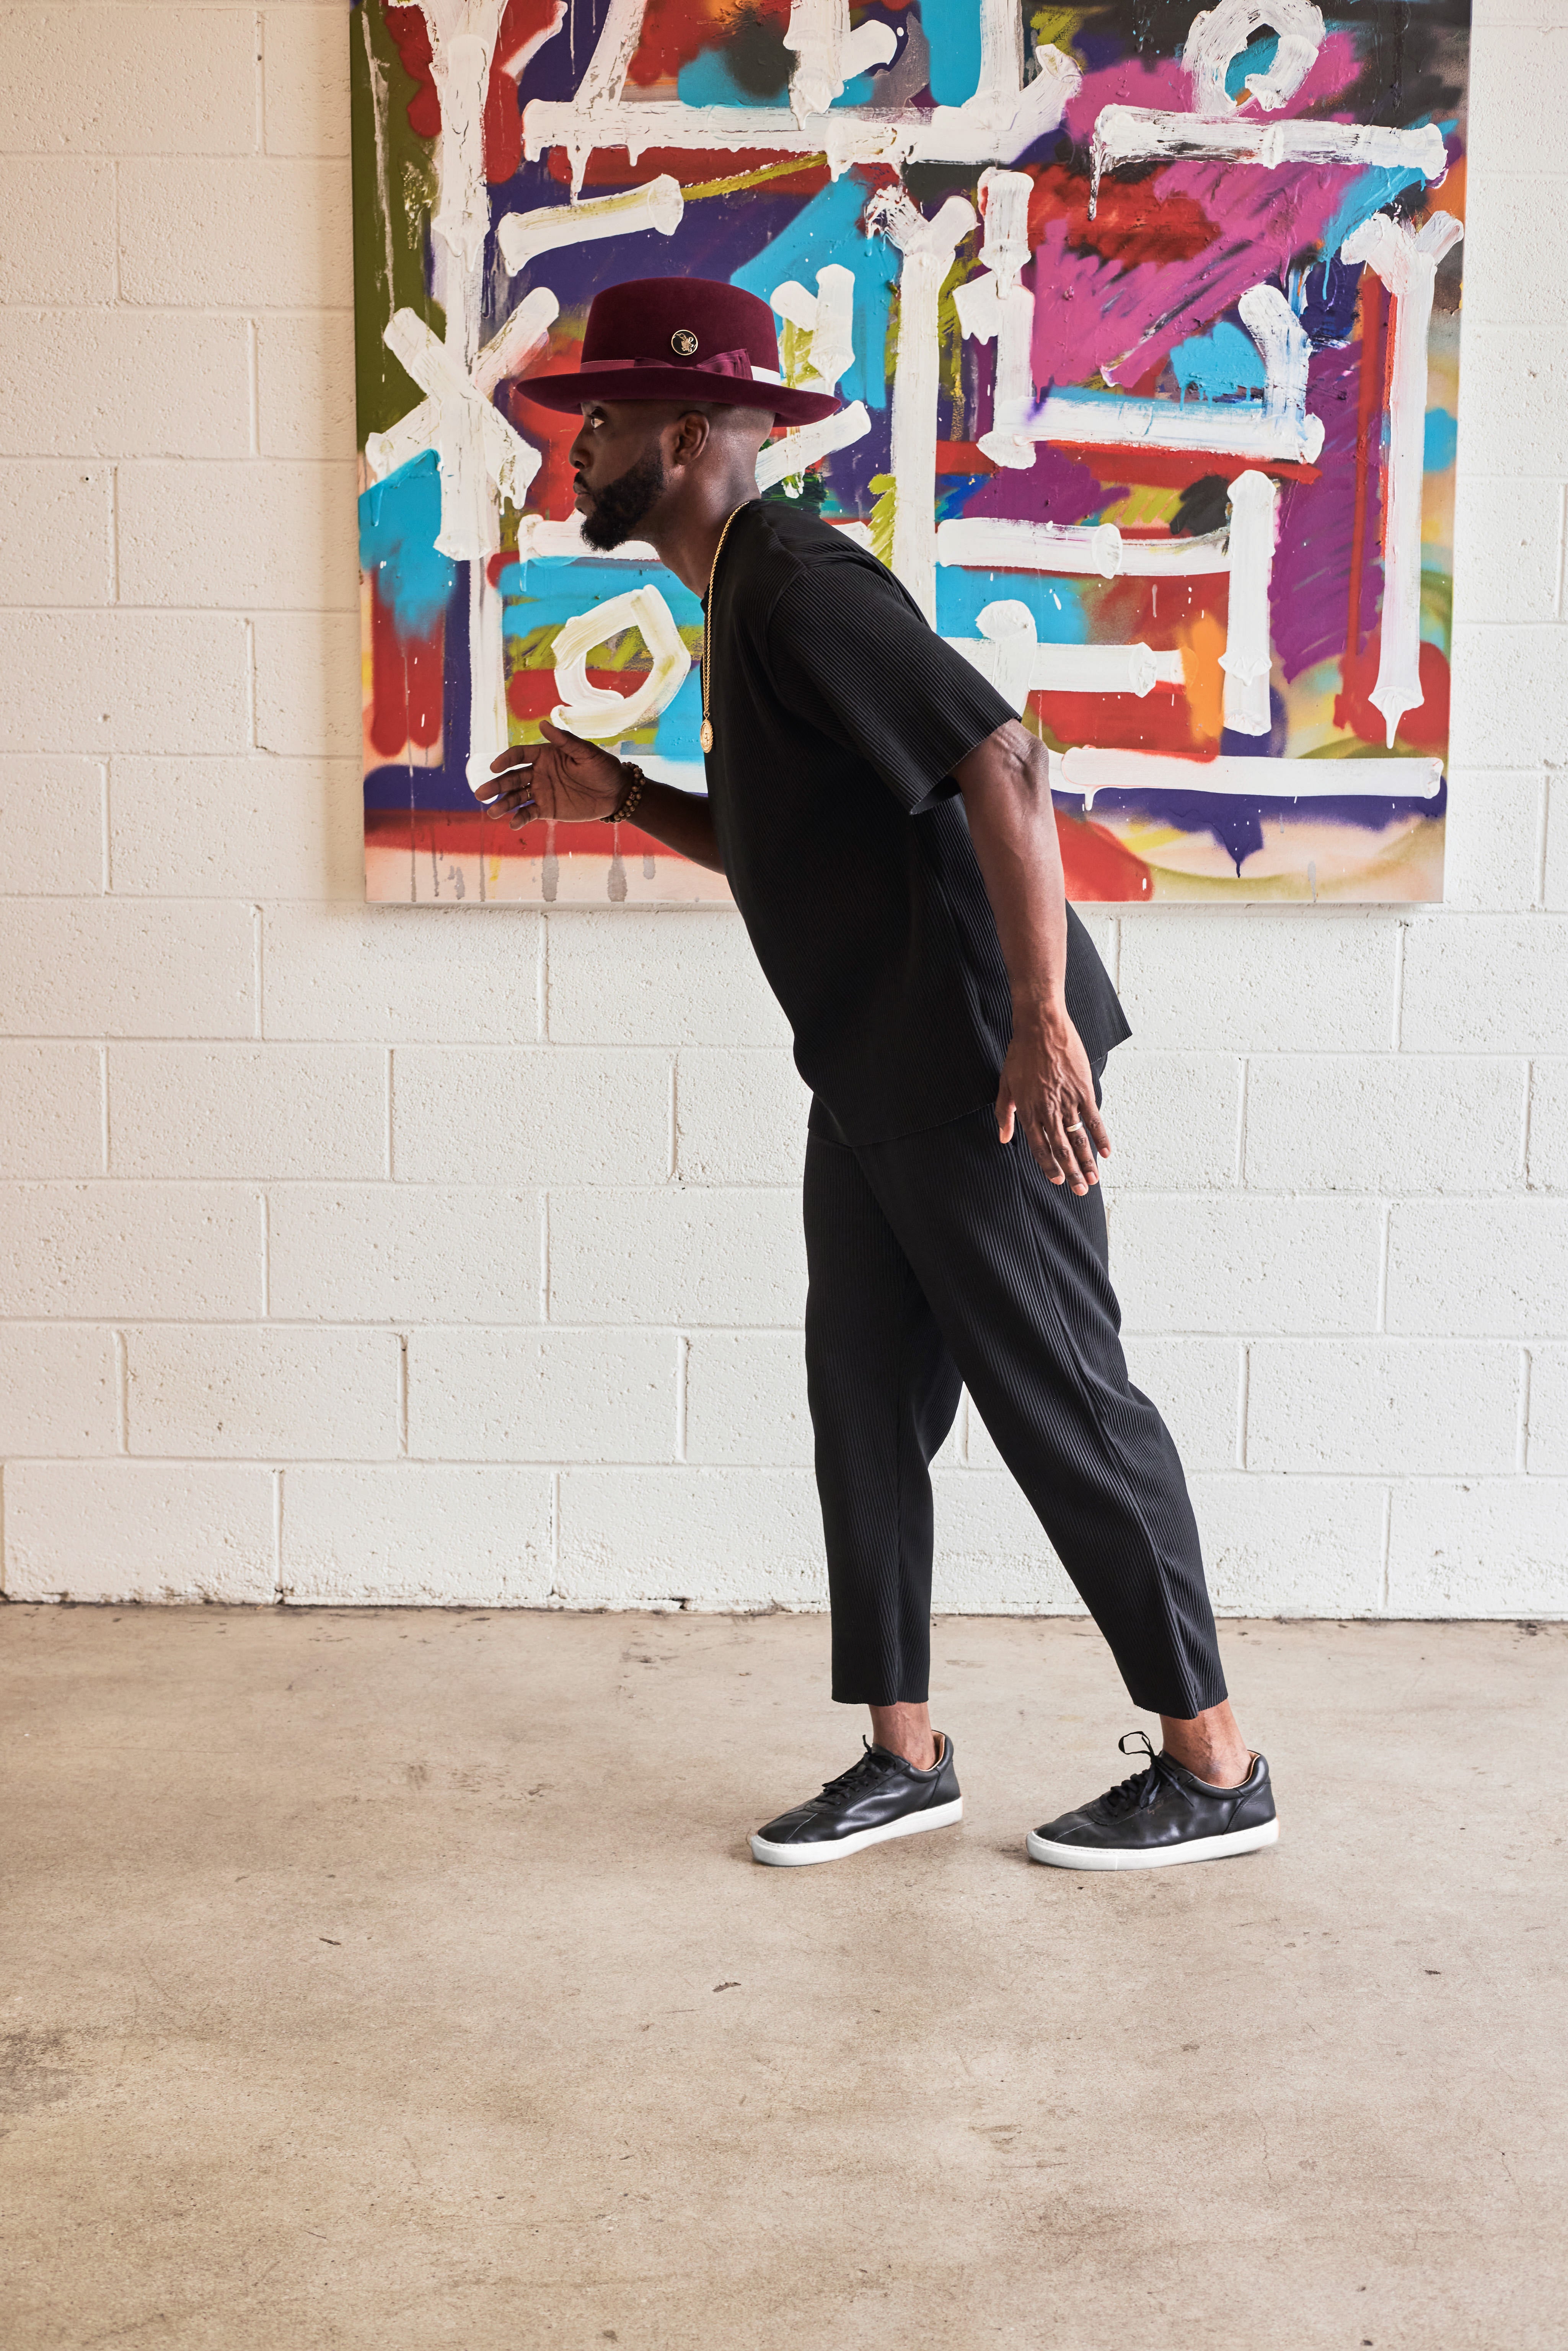


Men's Classic Weekender Sneaker - Leather
More narrow feet? Sneakers fit true to size.
Flat or wider feet? Suggest going up by 1/2 size.
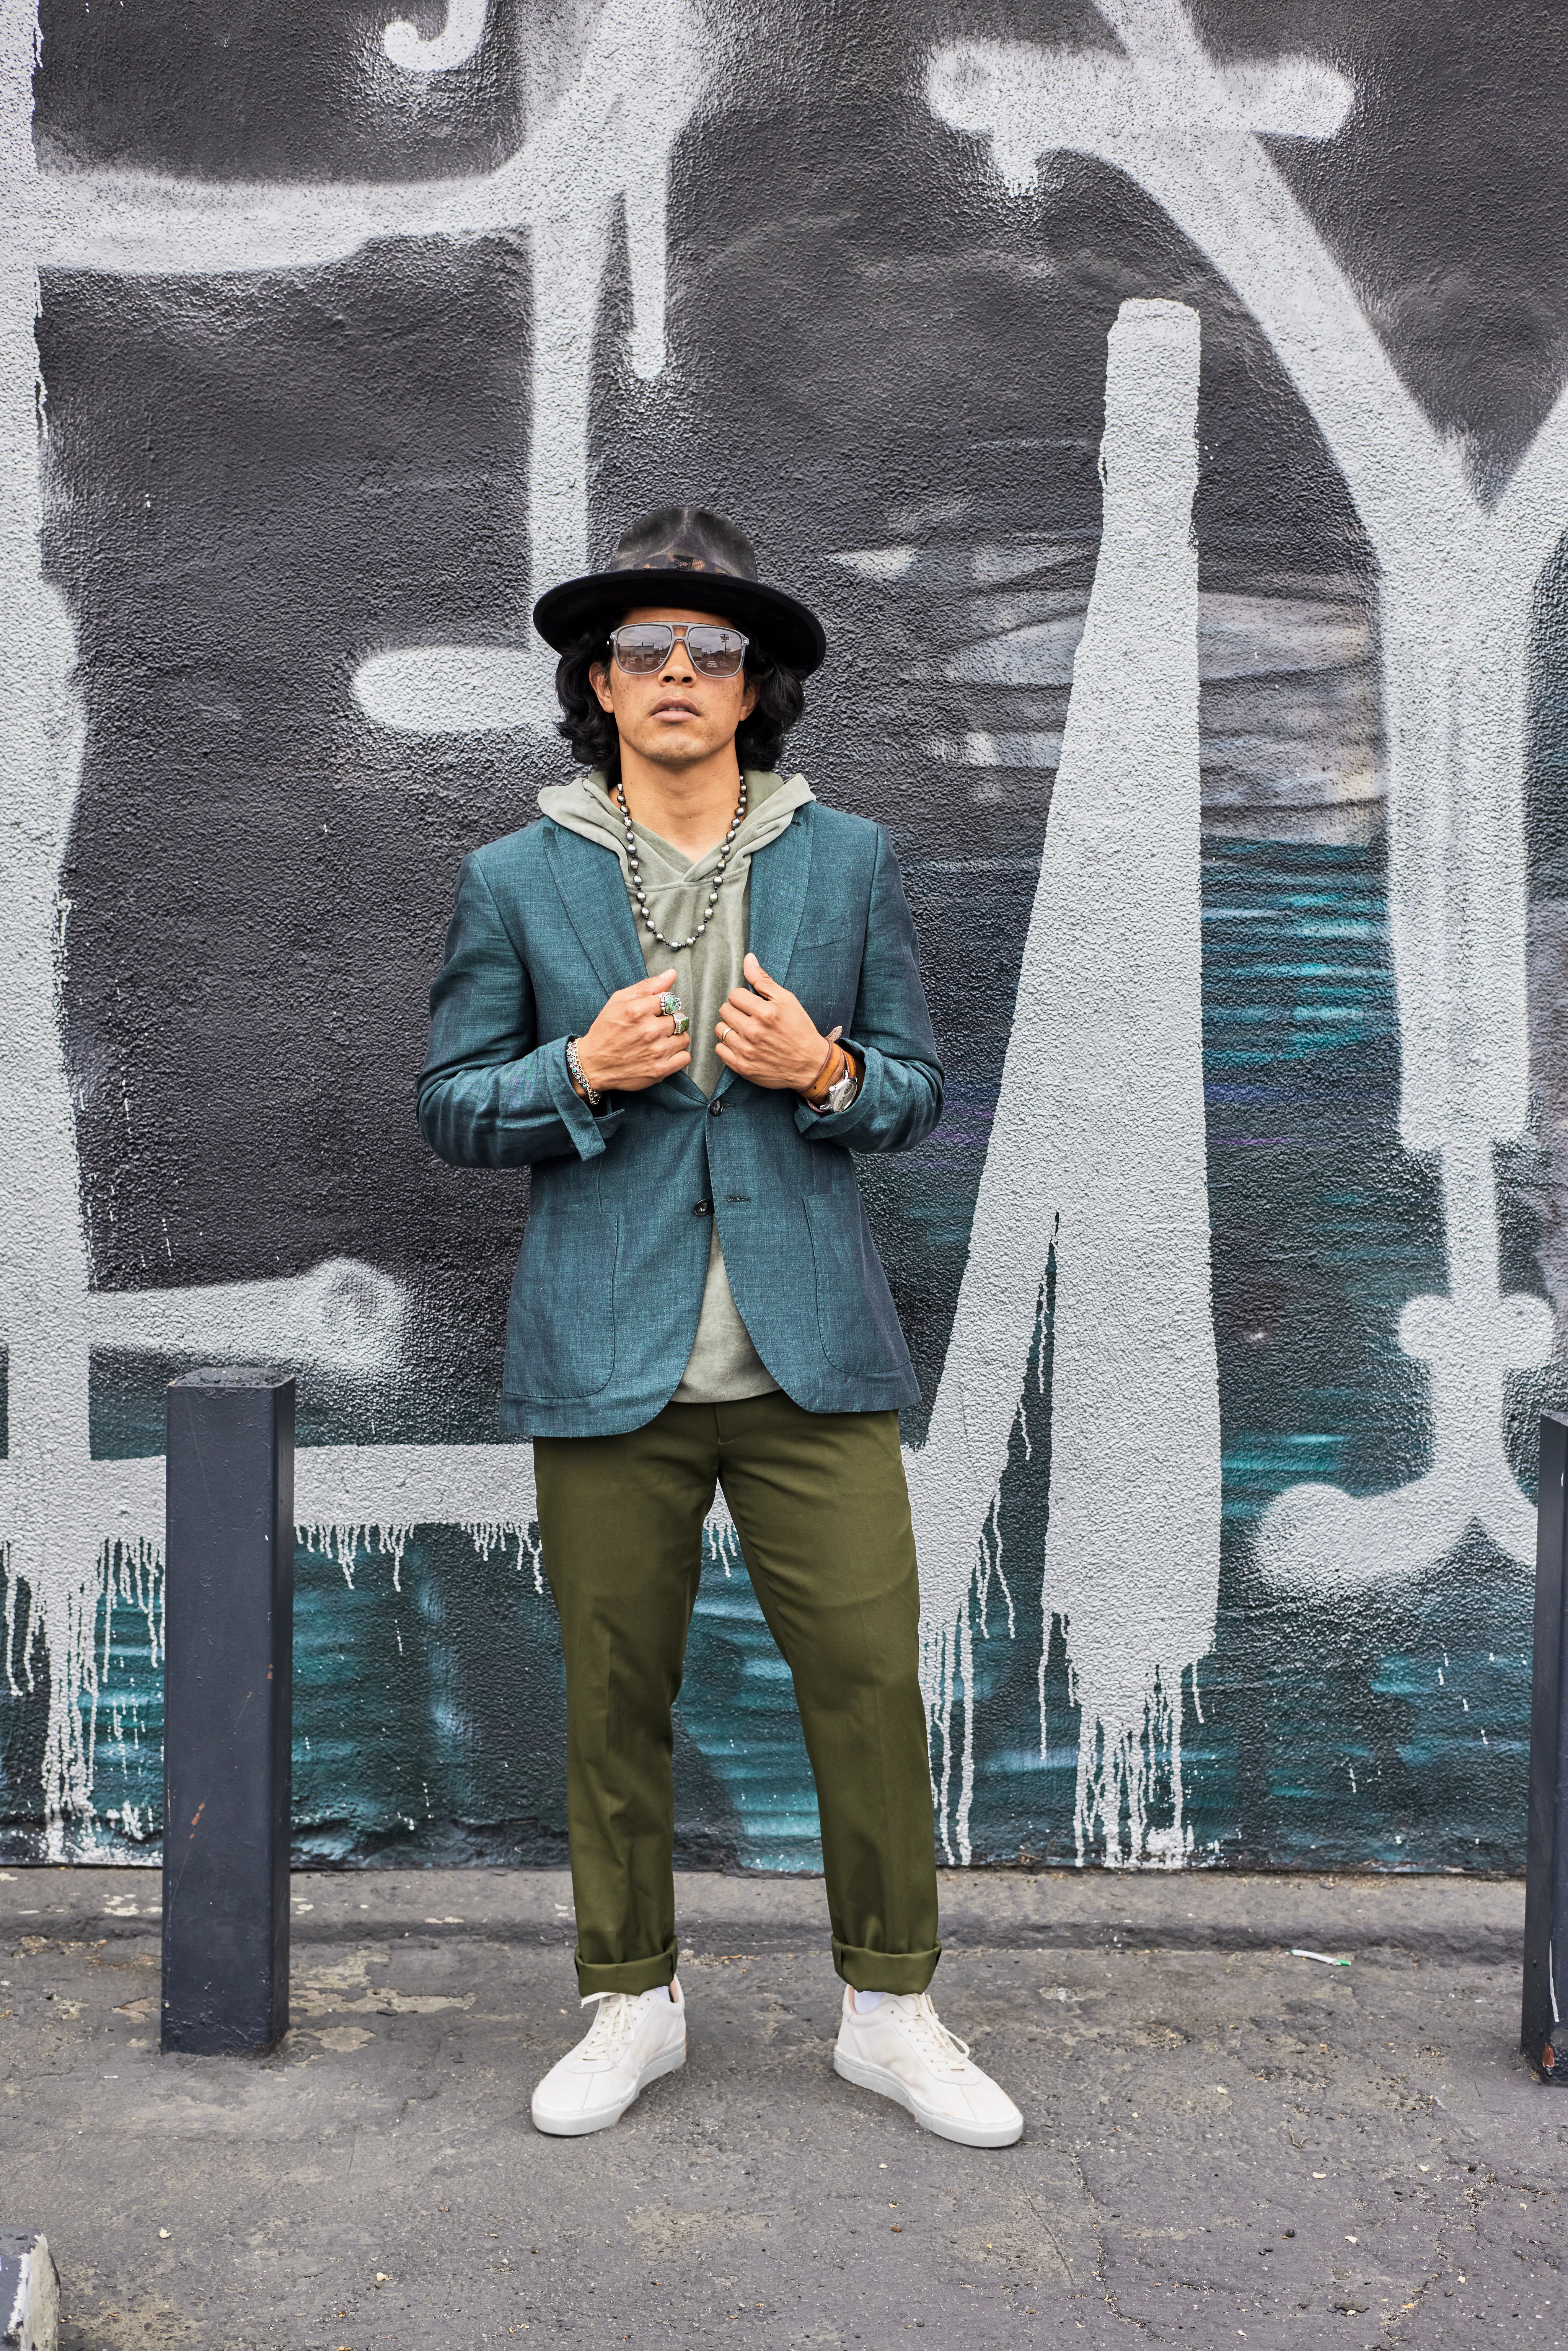
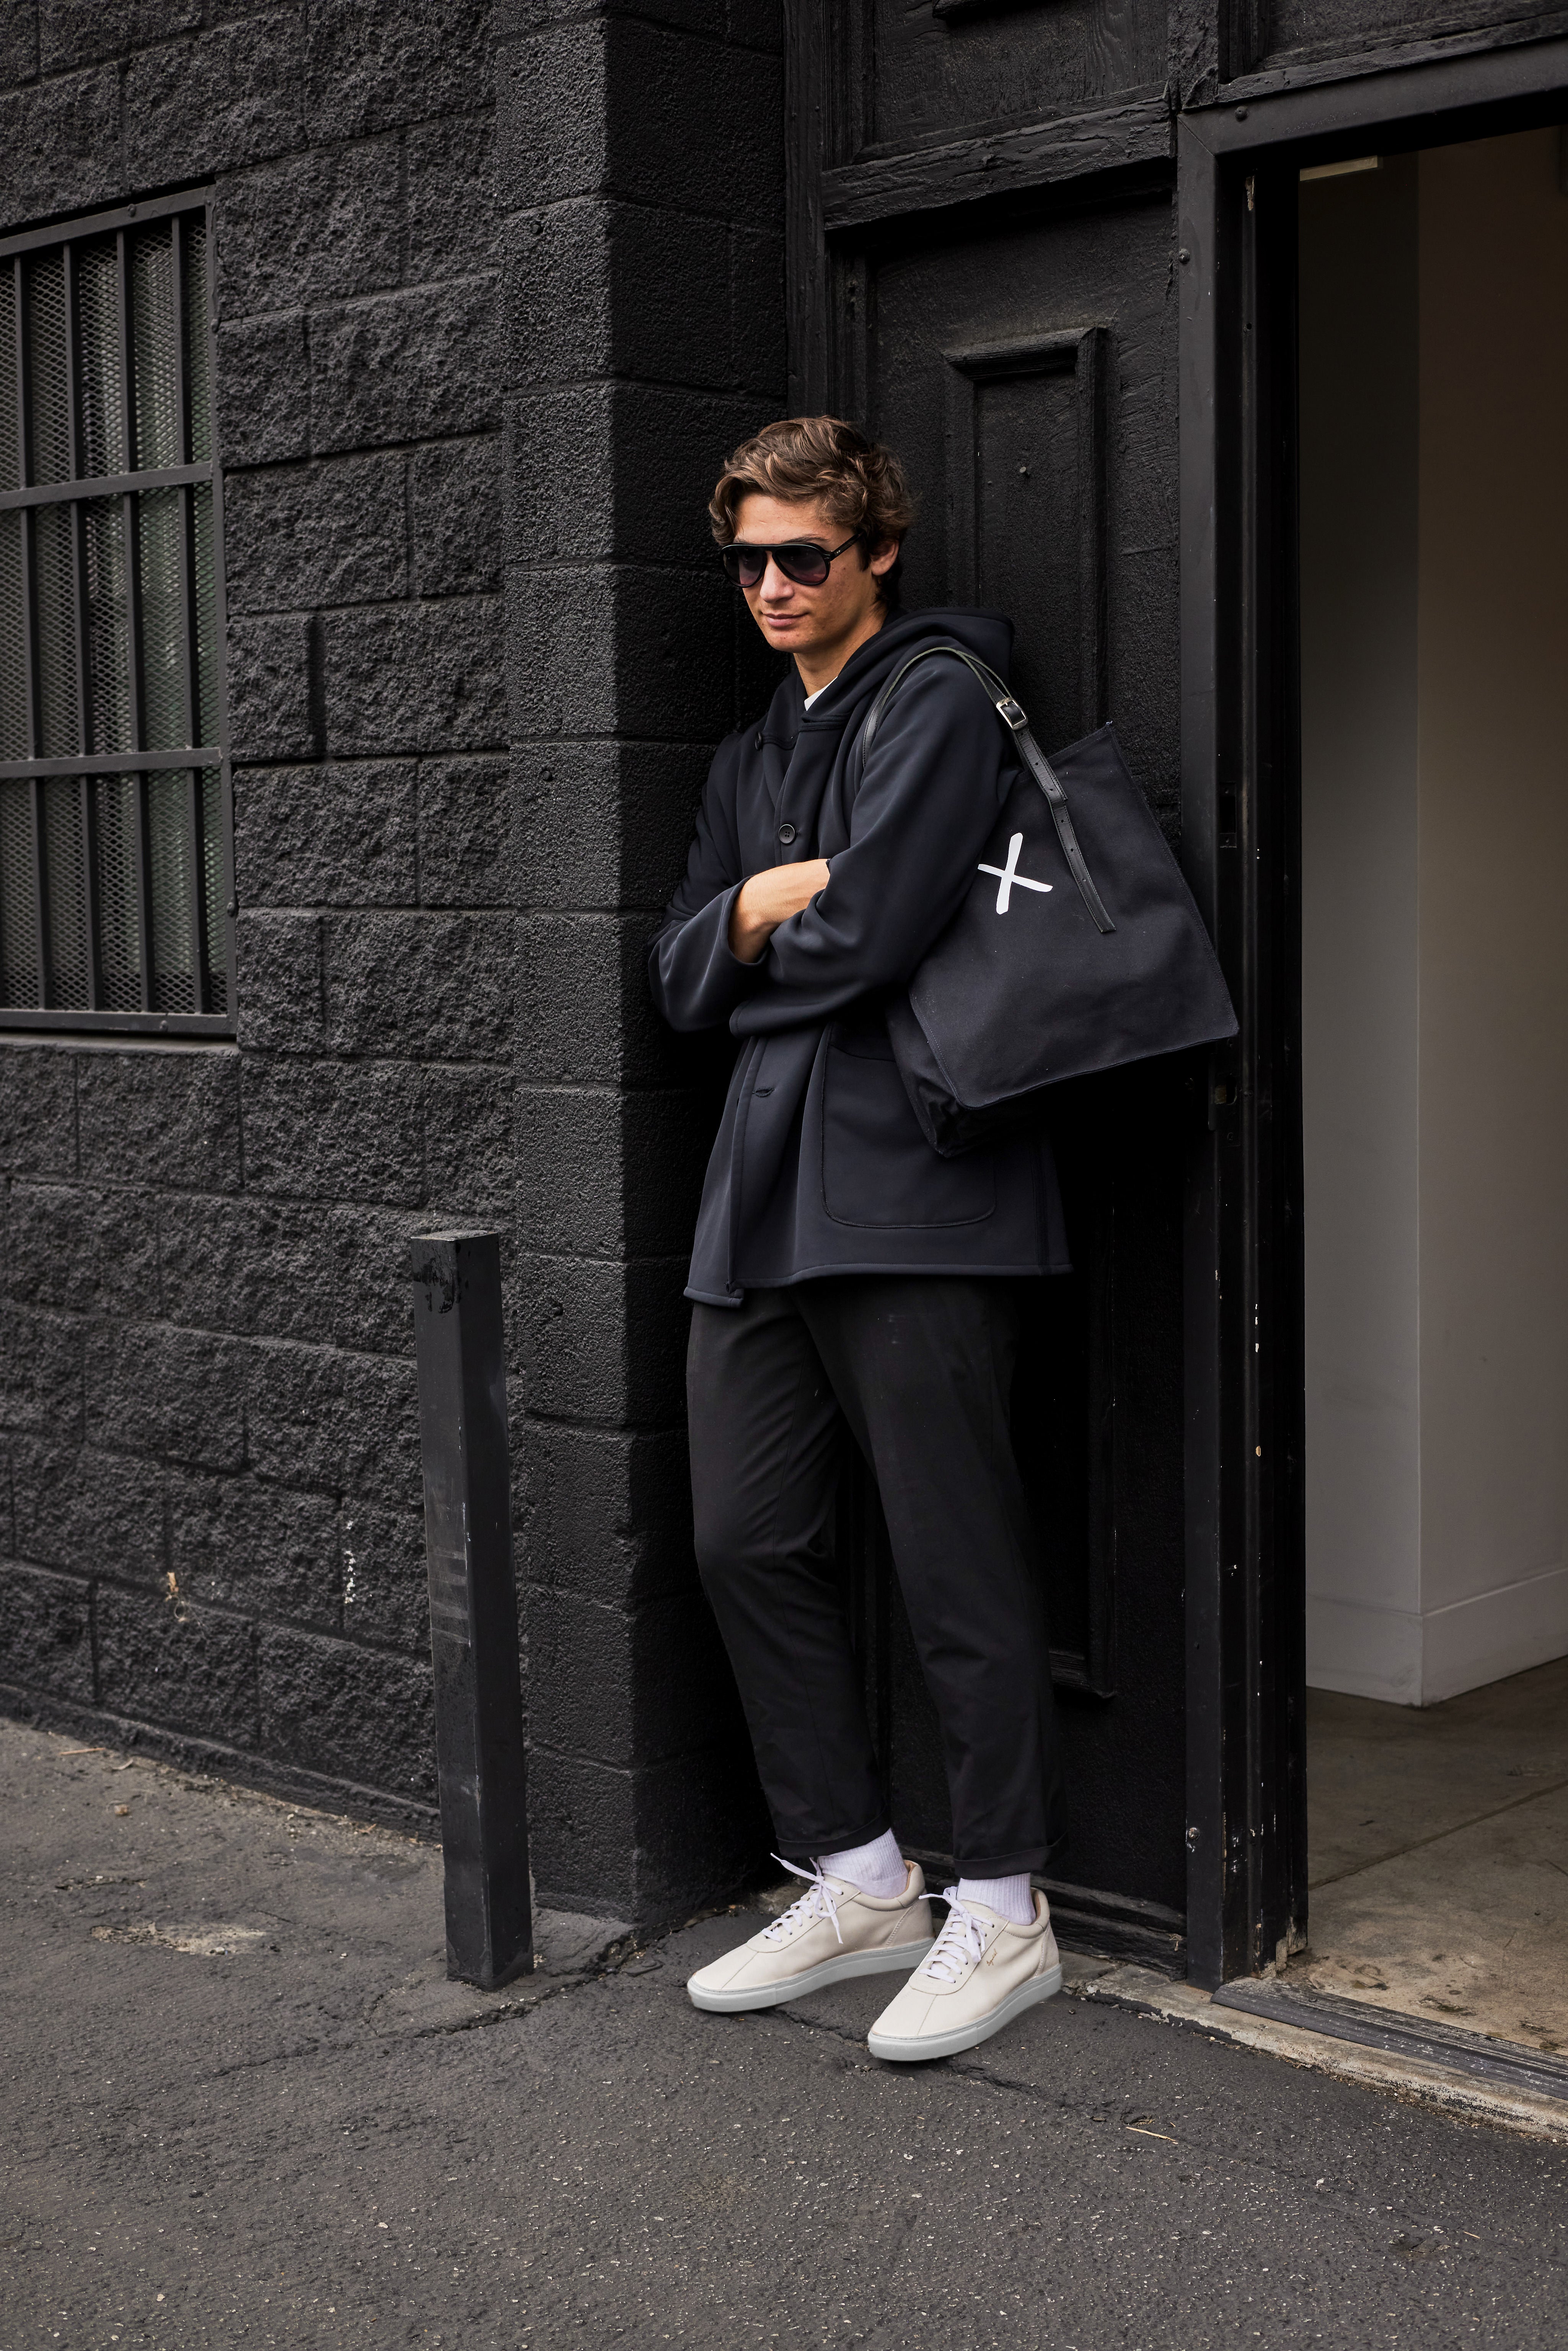
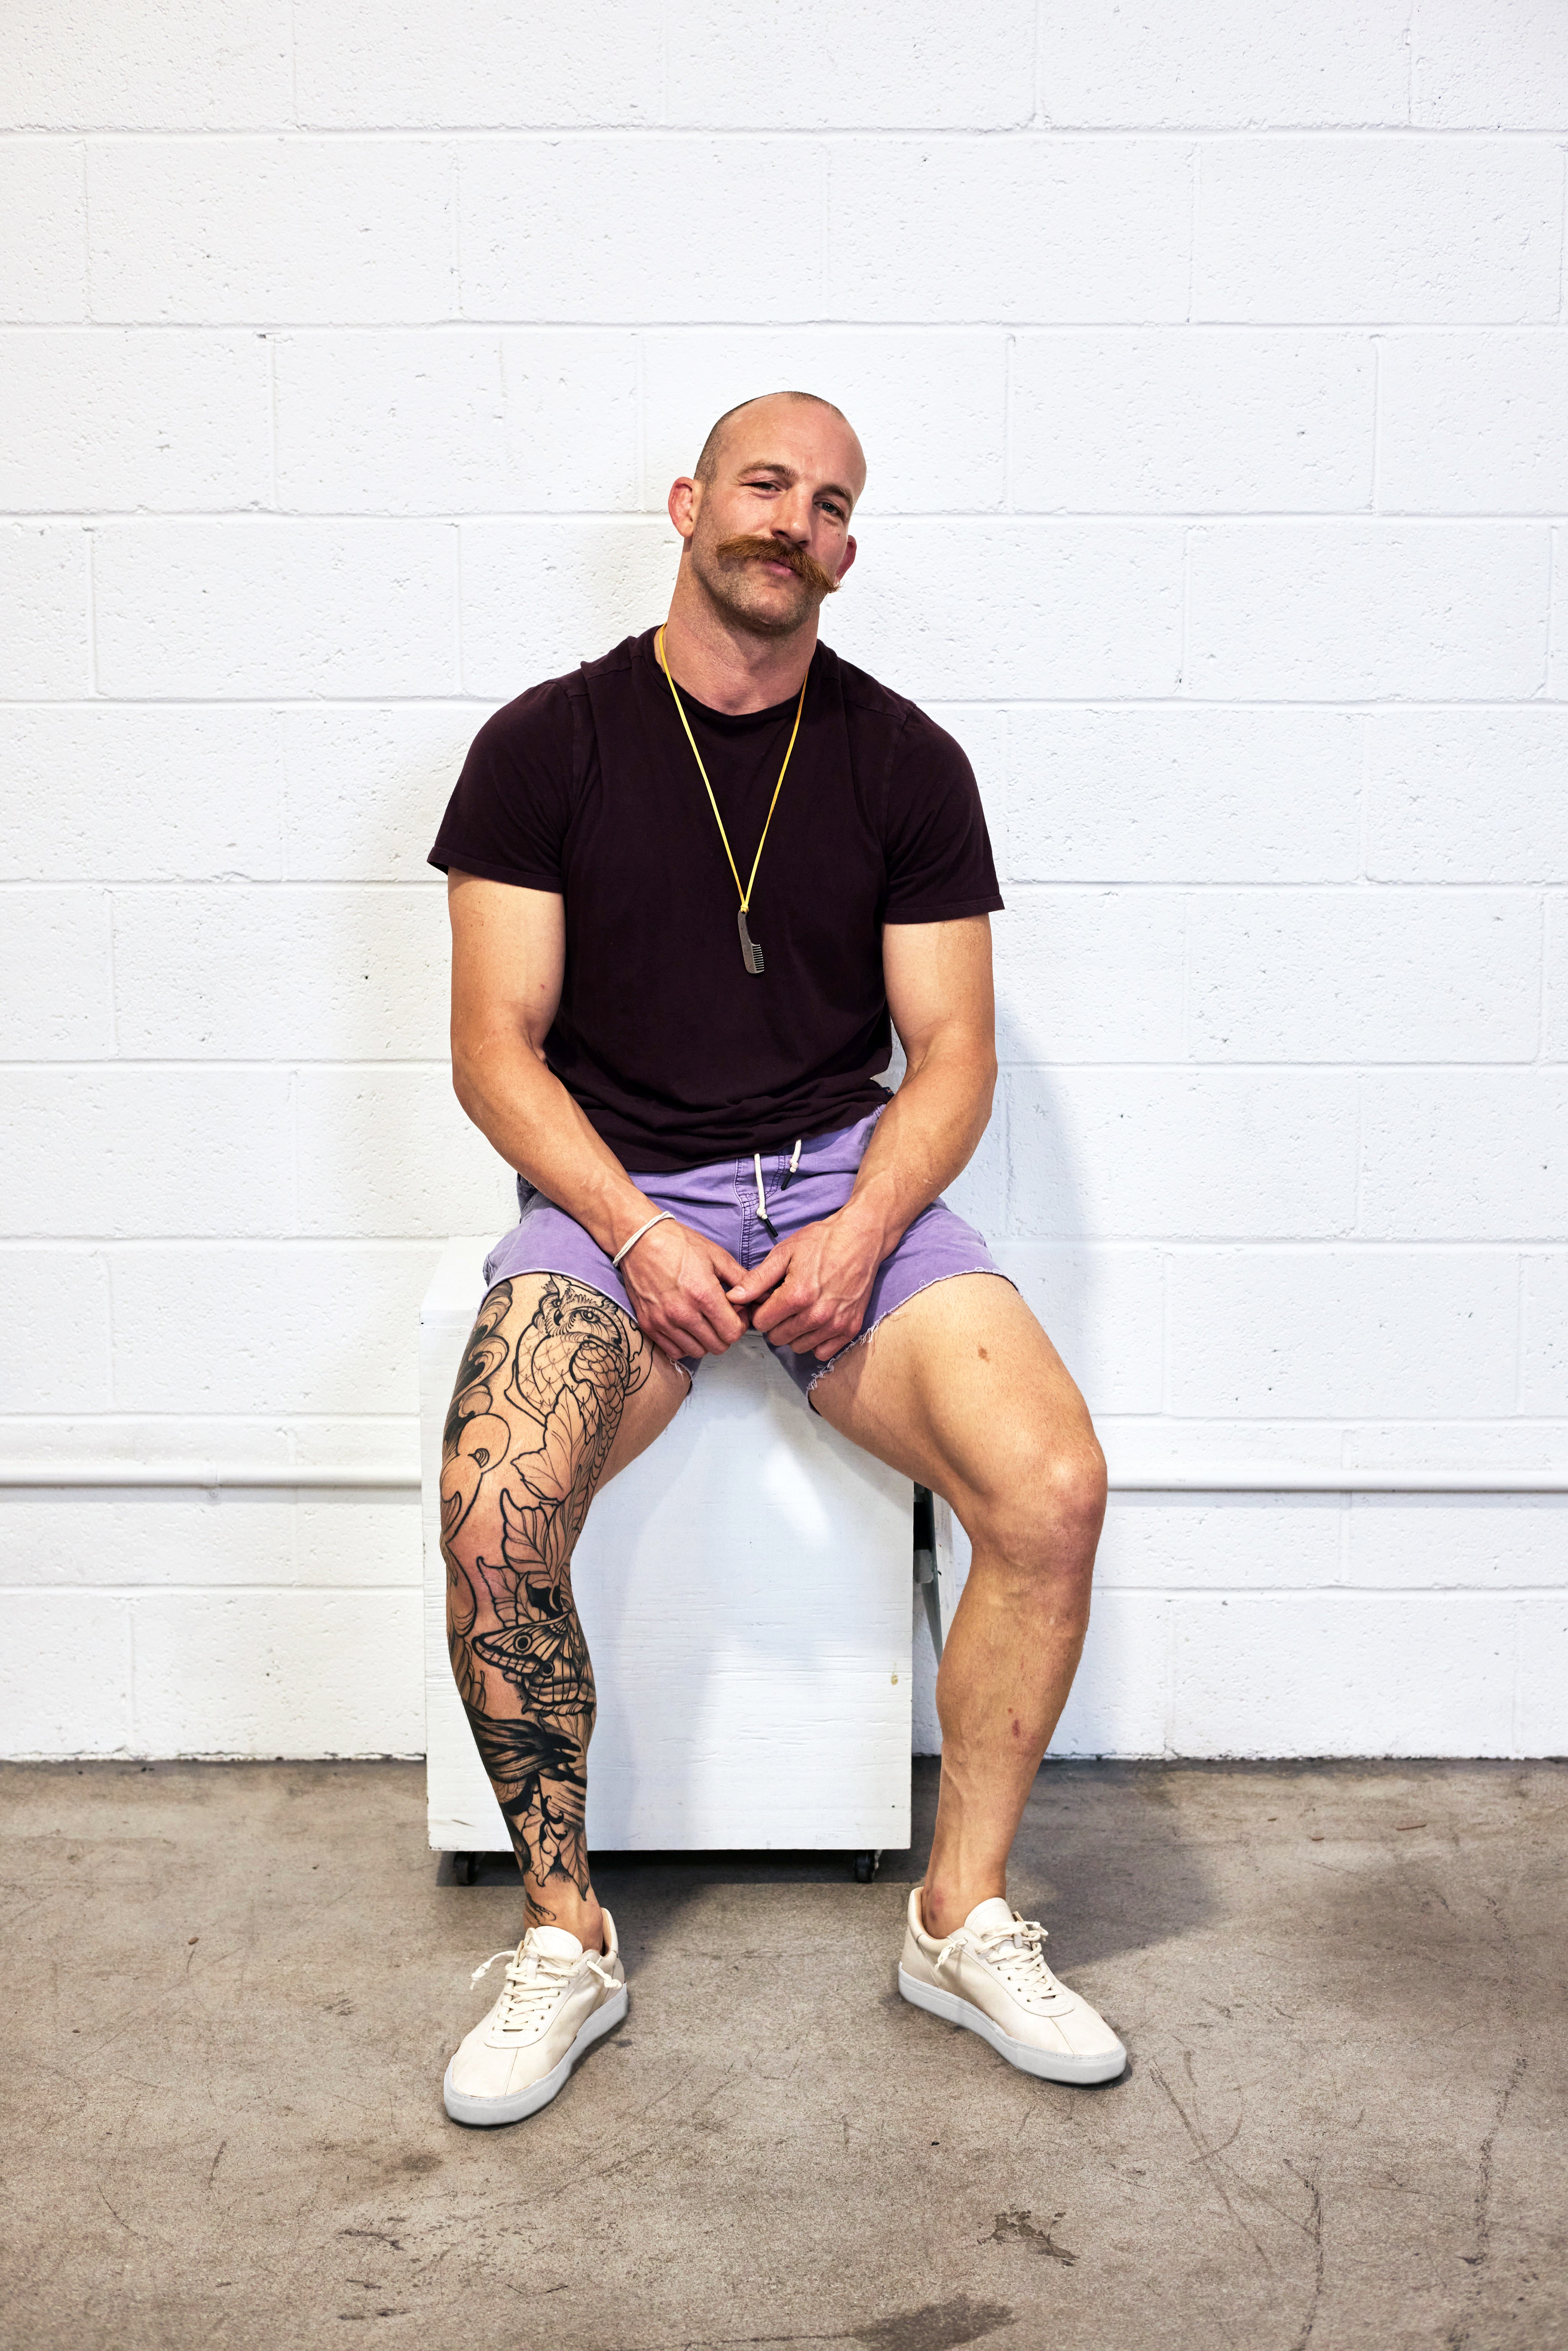
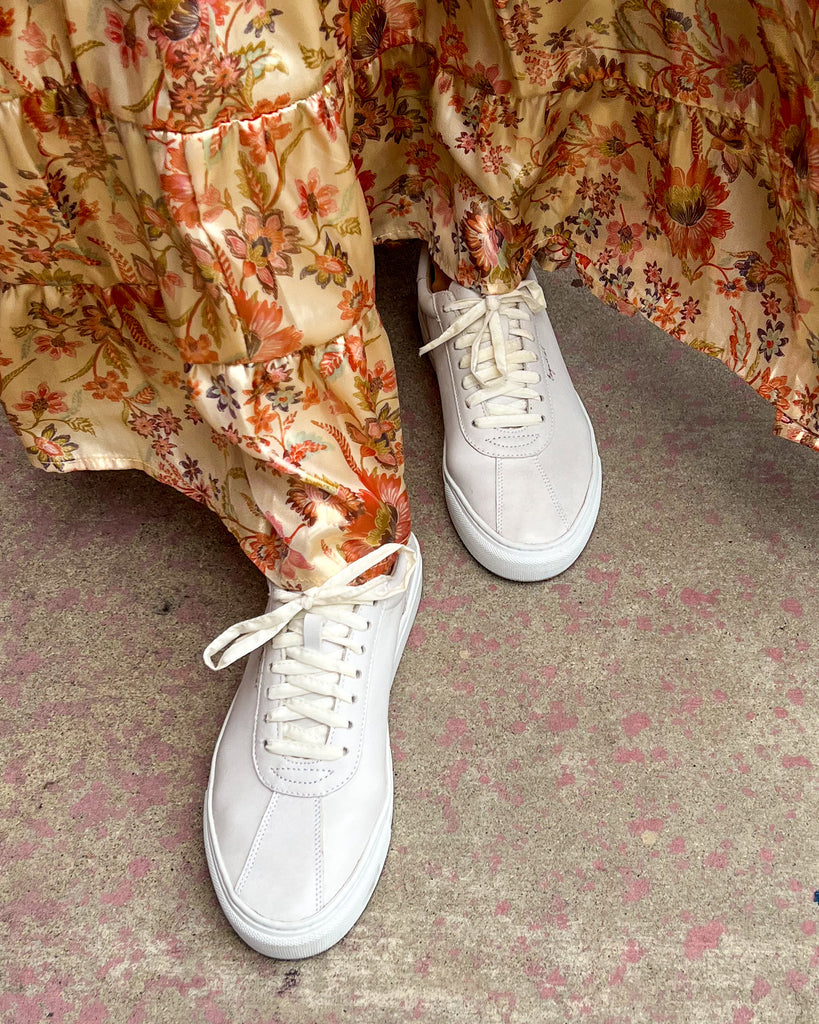
Our Esquivel X Classic Weekender continues to be a crowd favorite. Understated SoCal cool is how we best describe our sneakers. These guys pair perfectly with everything from shorts to jeans to a summer suit. They are perfectly at home on a weekend stroll along the board walk or out for dinner at the coolest new eatery in some wonderful far-off destination.
Our sneakers are made with the same attention to detail and dedication to craft as our traditional shoes and boots. From the first moment you slip on a pair, you’ll notice something is special and different from other casual trainers. We hope you love wearing them as much as we enjoy making them.
- Men's Classic Weekender in Leather
- 7 Eye Trainer
- Unlined for a glove like feel
- Insole: removable, performance materials, super comfortable
- Footbed: signature design that molds to owner's feet
- Genuine rubber outsole
- 2 pairs of laces: Traditional athletic & our signature fun hand-made laces (colors may vary)
All sale items are FINAL SALE, no exchanges or returns.
There may be slight variations in the appearance of your Esquivel‘s due to the handmade process of cutting, sewing, polishing and finishing.
This allows each product to uniquely age over time.
Enjoy complimentary standard shipping on all full price US orders.
Average fulfillment time for the Esquivel X collection is 1-3 days, unless otherwise noted.
All sale items are FINAL SALE, no exchanges or returns.
Other shipping conditions may apply for certain products and locations. Please review our shipping & return policy for details.
x is for multiplication of food, hope and love
The Art of Making
our Esquivel X sneakers
The first step in the making of our Esquivel X sneakers is choosing the proper leather. I would like to point out that leather is a byproduct of the beef/ cattle industry. The hides of the cattle are used for leather products.
Most of the hides we use for our products are from the U.S.
The tannery we use is located in Leon, Mexico, which is considered the capital of Mexican leather goods. The tannery we work with is run by a 4th-generation tannery owner. We have been working with this tannery for roughly 6 years. Throughout the years, the knowledge and passion for the craft from the tannery owner has grown exponentially.
Working with this tannery has given me the unique opportunity to develop products that are typically only available to very large-scale production. In most cases, to develop a specific leather, a tannery will require a large minimum number of square feet.

Lalo
My good friend and tannery owner, Lalo. Lalo is a seasoned world traveler and lived in China for over a year as an exchange student. He is a true craftsman and a Renaissance man who speaks multiple languages.

Entrance
The entrance to his tannery, just past the potted tree is where the hides become final products for footwear and leather accessories. The process is called “tanning of leather.”

Tannery Logo
This is the logo of his tannery.

Tumbling
A big, beautiful machine that spins and tumbles the leather to the desired effect. The process softens the hides. It’s roughly 12-14 ft tall. In the tannery, there are several of these machines that vary in size.

Drying
This is the drying process of the hides. Once they are removed from the tumbler, they are hung to dry, and travel throughout the tannery connected to a conveyor belt. The tannery’s roof is open on both ends to capture the natural airflow. The hides are high up in the air, which allows for the natural airflow to help this process along. Each type of hide, based on finish, thickness, and color, will have varying processes, with the final process being determined by the head tanning engineer.
Once the hang dry process is completed, the hides move into the next steps of ironing, coating, skiving, and trimming. Based on the desired outcome, some hides require more processes.


After multiple steps, hides become the final desired leather. Final product can be smooth and matte, or textured with a high shine, suede, or nubuck finish. The possibilities are almost endless. The leather that this tannery specializes in is mainly used for the uppers of footwear and or lining of footwear.
Below are some of the final products in different types of finishes and colors. The final image shows leather that is wrapped up and ready to ship out to the customer.


The next steps show the making of our Esquivel X sneakers. All processes are done in one location. It’s a beautiful family-owned factory. Two brothers own the factory, Francisco and Alejandro “Alex”, third-generation shoemakers. They have taken traditional shoe-making knowledge and adapted it for making their passion, sneakers. As with the tanning processes, we can’t show every single step of the sneaker-making process. Some procedures are proprietary, and it’s what makes our sneakers so good.
Cutting of the uppers
Each pair is cut according to its appropriate size. We offer sizes 6-10 half and full sizes for women and 8-14 half and full sizes for men. This means we hand-cut, sew, and make 20 different sizes. Each size requires its own set of patterns and molds that are laid on the leather and used as the cutting templates.

Cut Panels
Here is how the different panels appear once cut before assembly.

Panels + Last
This shows the panels along with the last (shoe mold) that gives the leather its shape into a shoe.

Tools
This gives a glimpse of how the panels lie on top of and next to each other. This sneaker is starting to come to life. This image also shows some of the tools used for shoe-making. The blade is used to cut leather: often, as is shown, a hacksaw blade is sharpened and used as a cutting knife. The hammer is used to tap leather into shape.
Next, we showcase the meticulous processes of applying glue to each piece, connecting the leather like an intricate puzzle. Once the glue is dried the artisans sew, trim, tap, and mold the leather into shape to create our Esquivel X sneakers.

Glue
The artisan gluing the panels together before stitching.

Sew
Here the glued pieces are starting to be sewn and assembled.

Here an artisan sews the leather uppers.

Different parts of the shoe require different types of sewing machines to be used for assembly.

How the panels are sewn; some of the sections require trimming of the leather.

How the sponge around the ankle and the leather holding the sponge in place are shaped and molded.


Next steps are the pre-lasting and lasting. These steps are called lasting the upper because the shoe uppers, in this case, our Esquivel X sneakers, are pulled onto the mold known as a last. The last determines the shape, width, and size. Once the shoes are properly dried, the shape is set in place.

Here the uppers are being prepped for lasting.

Glue is added to the proper areas, and edges are folded as needed.

Here the uppers are getting laces added.

Adding laces is required to hold the upper onto the last.

Now the insole is attached to the last. This is the section that sits between the removable soft athletic insole and the rubber outsole. This is one of the steps mentioned that we can’t show the entire process; we add a few more items to give our sneakers amazing comfort.

Upper / leather paired with the appropriate last.

Upper / leather paired with the appropriate last.
These next steps show how the upper is attached to the last. All the steps shown are very important to the shoe-making process, but this step is considered “Shoe making”. This step is beautiful and requires many years of experience to properly be able to last a pair of shoes. There are many ways of lasting, and each artisan typically has their own method of doing it.

Tools
Tools used to last our sneakers.

Next, is the Lasting/ Mounting process.


A pair ready to have soles added.

Before attaching the soles to the uppers, there are steps required; due to proprietary issues, we cannot show them.
A pair of our sneakers almost ready to have the sole attached. This color leather gets extra love by way of hand-applied patina before adding the soles.


Some of our sneakers receive extra attention with hand-applied coloring or patina, as it’s sometimes referred to. The process adds shading and depth to the color of the leather. It creates an artisanal feel on the sneakers.

Here the coloring specialist prepping their perfectly balanced elixir.

Coloring is hand-applied to the leather.


This photo shows the difference between a sneaker with patina and a sneaker waiting to have patina applied,
Sneakers with the patina/coloring added to the leather.


The next steps in the sneaker-making process are adding the soles. Some proprietary issues prevent us from showing all the exact steps.

A sneaker marked to show where the top line of the sole should be placed. The soles pictured show the inside of the sole.

Soles pressed onto the uppers.

These sneakers are pretty close to being completed!
Stitching of the soles to the upper is one of the final steps of the production process. See below as the side wall of the sneakers are being stitched to the uppers, then the technician trims the the thread to finish the stitch.


The final steps to finish off our sneakers include cleaning & trimming any excess glue or thread, adding the removable athletic insole, adding laces & packing up the sneakers.

Our sneakers are packaged with 2 sets of laces. Traditional athletic laces and a pair of our signature handmade printed laces.

Traditional athletic laces.

Pack up the sneakers, which include a functional shoe bag that doubles as a drawstring backpack.